Introduction
In the words of renowned lighting designer Richard Kelly, “Light is the first element of design; without it there is no color, form, or texture.” An effective outdoor lighting plan can enhance the beauty of your property, increase its usability after dark, and improve security. This guide will take you through the steps of designing an outdoor lighting plan, combining time-tested principles with modern technology.
Part I: Understanding Your Outdoor Lighting Needs
Every successful lighting plan starts with understanding your specific needs and desires.
Step 1: Identify Your Lighting Needs: Do you want to highlight features of your garden, create a comfortable space for outdoor dining, or improve security? Understanding your needs will guide your lighting plan.
Step 2: Perform a Site Survey: Take a walk around your outdoor space during the day and at night to identify areas that need illumination. These could be pathways, dining areas, a pond, or specific plants.
Step 3: Sketch Your Landscape: Draw a rough sketch of your landscape, indicating the places you’d like to illuminate. You can use an app like Pro Landscape Planner to do this digitally.
Part II: Choosing Your Outdoor Lights
There’s a wide range of outdoor lights available, each serving a specific purpose.
Step 1: Path Lights: These are essential for illuminating walkways. Choose designs that complement your landscape and ensure they are spaced correctly for optimal illumination.
Step 2: Accent Lights: These are used to highlight specific features such as statues, plants, or water features. Spotlights and floodlights can serve this purpose.
Step 3: Task Lights: These provide illumination for outdoor tasks, such as cooking or reading. For example, you could install a pendant light above an outdoor dining table.
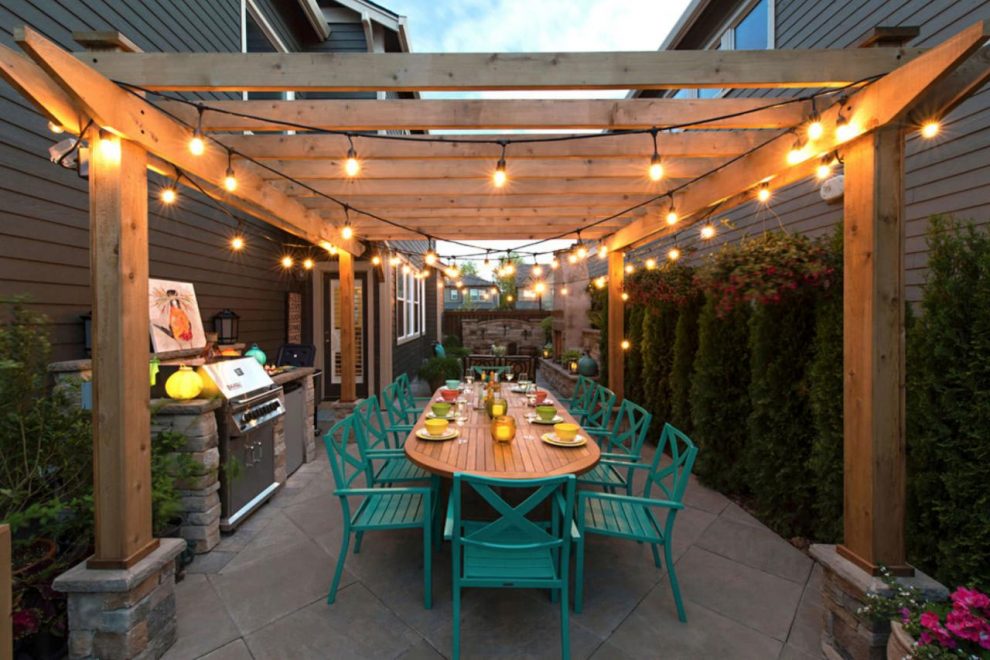
Step 4: Ambient Lights: These create a welcoming atmosphere. String lights, lanterns, or wall lights can be used for this purpose.
Step 5: Security Lights: Bright lights with motion sensors can deter intruders and ensure safety in your outdoor space.
Part III: Implementing Your Lighting Plan
With your plan and chosen lights at hand, you’re now ready to bring your outdoor lighting design to life.
Step 1: Start with Task Lighting: Install lights for specific tasks first, as these are typically the most important.
Step 2: Install Accent Lighting: Position your accent lights to highlight the desired features.
Step 3: Add Path and Ambient Lighting: Install path lights to ensure safety and add ambient lights to create the desired mood.
Step 4: Set Up Security Lighting: Place security lights at strategic points, such as entrances or dark corners.
Remember to consider energy efficiency when choosing your lights. LEDs are a great choice because they’re energy-efficient and have a long lifespan. Solar-powered lights can also be a good option for outdoor lighting.
Part IV: Adjusting and Maintaining Your Lighting
Your lighting plan may require some adjustments once all the lights are installed.
Step 1: Review Your Lighting at Night: Walk around your property after dark to see if any areas are overly bright or too dim. Adjust the position or brightness of the lights as needed.
Step 2: Regular Maintenance: Outdoor lights require regular maintenance. This could include cleaning, changing bulbs, or checking for any electrical issues.
As you design your outdoor lighting plan, keep in mind the words of American novelist Nathaniel Hawthorne: “Moonlight is sculpture; sunlight is painting.” And with a thoughtful approach to outdoor lighting, you can paint a captivating picture of your home after dark. Happy lighting!


